Explore the toolkit
All Tools
Jump straight into a focused workspace for improving video or image quality.
Choose an Upscale That Fits the Final Screen
A video upscaler is most useful when the target size, viewing distance, and hardest moving details are decided before export. These comparisons show three different ways to judge a video upscaler result without relying on a resolution label alone.
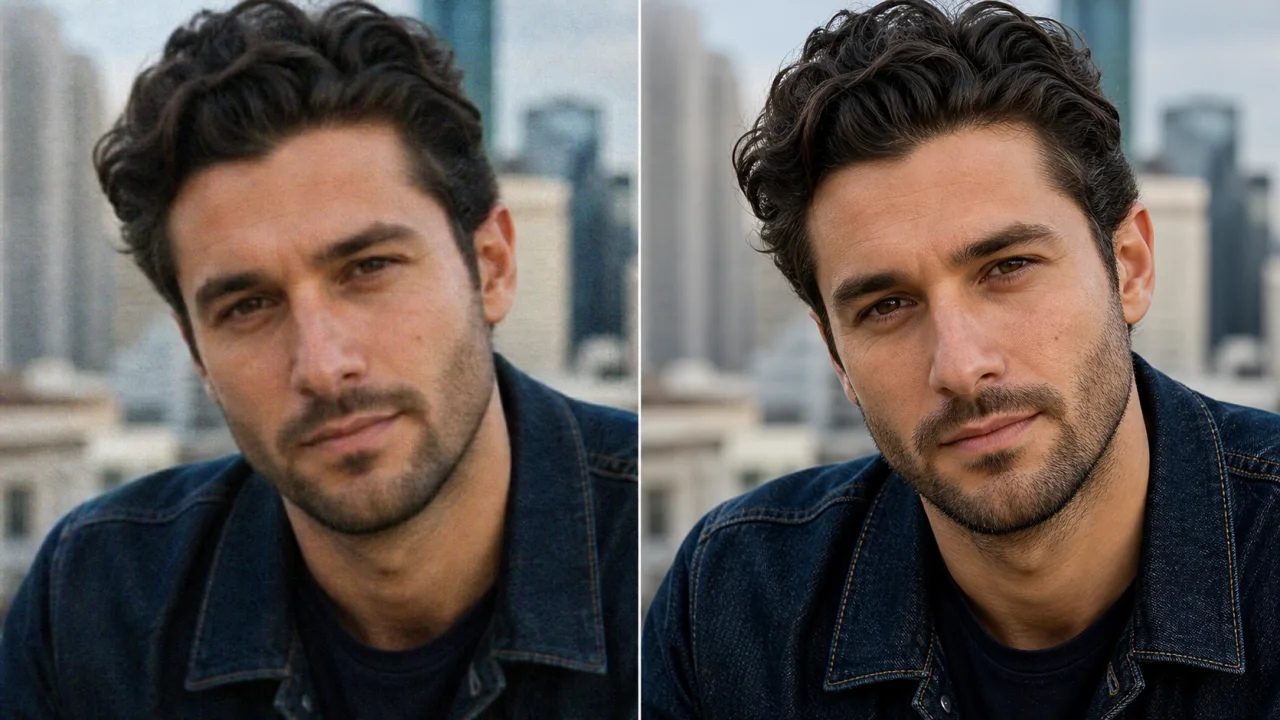
Keep Faces Natural While the Frame Gets Larger
Portrait footage makes a demanding video upscaler test because skin, loose hair, street signs, and a moving background must stay coherent together. Use the AI video upscaler on a representative passage, then compare both versions at the intended display size. A video upscaler free preview should reveal whether the larger output improves useful definition without turning pores, eyelashes, or jacket seams into brittle outlines.
- Inspect eyes, hair, and fabric during playback
- Compare identical timestamps at the same zoom
- Watch background edges instead of one paused face
- Prefer stable texture over aggressive sharpening
- Approve the result at its real delivery size
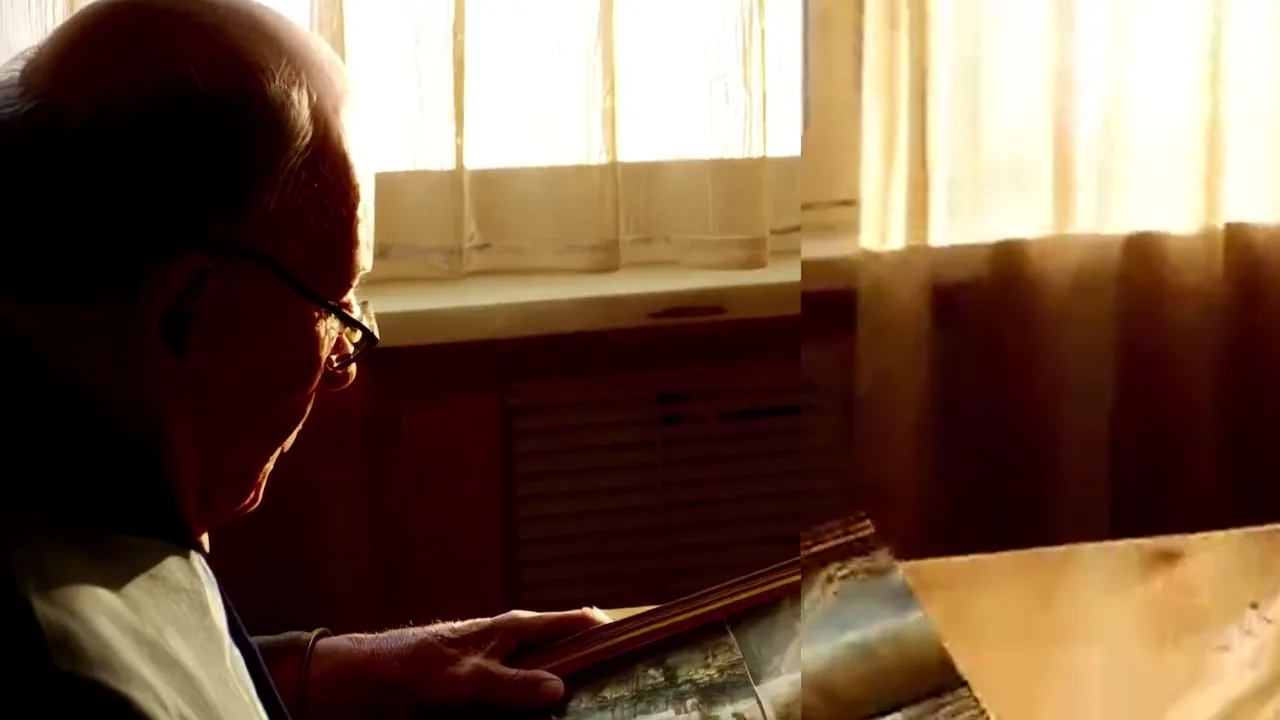
Plan a Modern Output Without Erasing the Original Look
A small family clip may need a larger frame for a television or archive, yet its soft light and film character still matter. Start with video upscaler free access for a short no-login check. The AI video upscaler can make boundaries easier to read, but the best video upscaler choice is the smallest video upscaler output that solves the delivery problem while leaving natural grain and familiar faces believable.
- Begin with the cleanest surviving source file
- Check shadow detail before increasing contrast
- Preserve intentional grain and soft lighting
- Review the result on the destination display
- Keep an untouched archival master
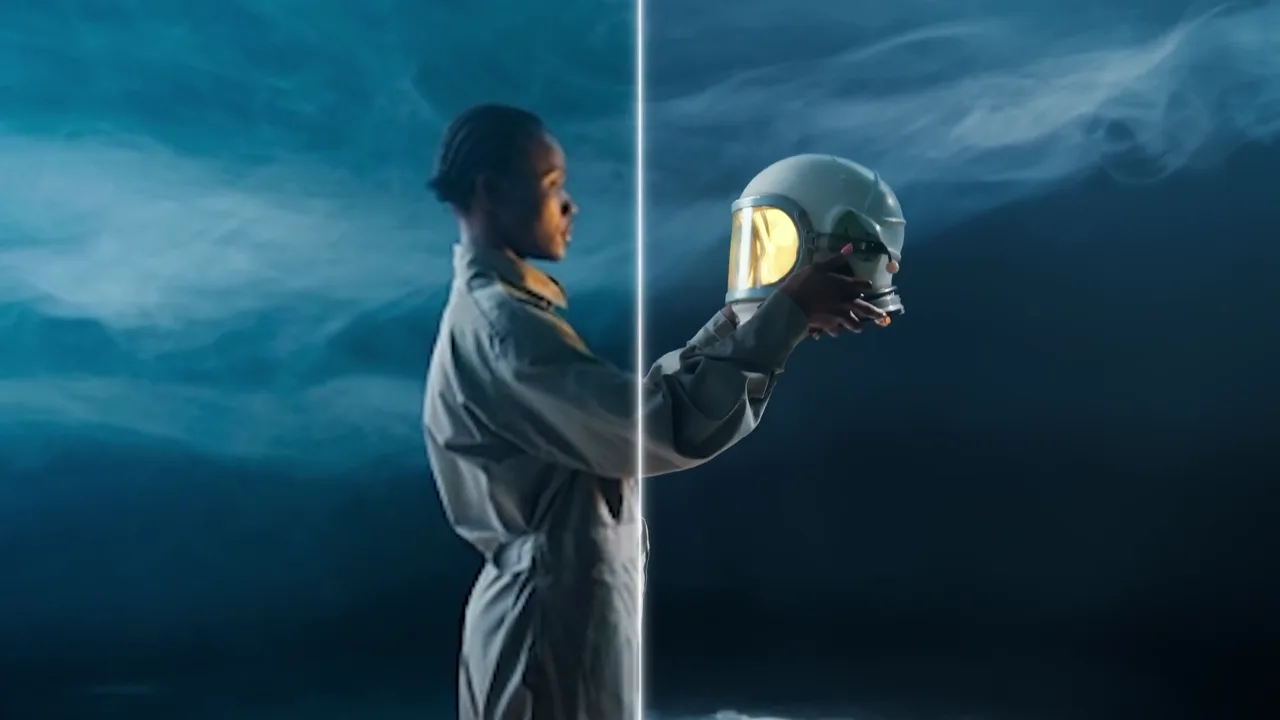
Protect Clean Shapes and Deliberate Texture
Animation, rendered art, and highly designed clips expose a different video upscaler challenge. Curves, painted surfaces, narrow silhouettes, and flat gradients can develop ringing or crawling noise after enlargement. Run an AI video upscaler preview and follow edges through motion rather than judging a still. With video upscaler free testing, you can compare a short difficult section before deciding whether the complete project deserves a larger export.
- Follow curved outlines from frame to frame
- Check gradients for banding and crawling noise
- Look for halos around bright silhouettes
- Test the busiest transition in the sequence
- Download only after normal-speed playback
Practical guide
Match Resolution to the Way Your Video Will Be Watched
An AI video upscaler enlarges the frame, but a useful workflow begins with the destination rather than the largest available number. Decide whether the clip is headed to a 1080p timeline, a 4K television, a presentation, or a social feed. Then use the AI video upscaler to test material that represents the real weaknesses of the source. Video upscaler free access is designed for that first comparison: a short preview can show whether text, faces, gradients, and movement remain convincing before you consider a complete export.
Step-by-step workflow
- Inspect the source at native resolution. Record its frame size, orientation, duration, and obvious defects before choosing a video upscaler target.
- Pick a passage containing the smallest important detail. Subtitles, eyelashes, distant signs, game interfaces, fabric, and diagonal lines reveal more than a clean establishing shot.
- Use video upscaler free preview mode for an eligible five-second sample without logging in. Keep the same crop, timestamp, and playback size when comparing the source with the result.
- Choose an output that fits the destination. A 2x result can be more practical than 4K when the source is small, compressed, or destined for a compact player.
- Play the enlarged result at normal speed and inspect it at 100%. Approve stable detail, natural texture, readable text, aligned audio, and clean transitions rather than sharpness in one frame.
- Keep the original and name the new export clearly. That makes it possible to return to the source if a different AI video upscaler setting or delivery format is needed later.
Formats and limits
The Lite workflow accepts verified MP4, MOV, and WebM video under 60 seconds and up to 100MB, with supported source dimensions from 240×144 through 1280×720. Video upscaler free preview mode processes an eligible five-second section without login. Some complete Lite choices require an account, while Ultra has a separate signed-in MP4, MOV, and MKV workflow with limits and credit requirements shown in the interface. If a browser cannot decode a MOV or WebM preview, make a standard MP4 copy from the original rather than repeatedly recompressing the only source.
Increasing pixel dimensions does not create a new camera angle or recover information that was never recorded. A video upscaler may clarify mildly soft edges and make compression less distracting, but severe defocus, long motion trails, clipped highlights, and crushed shadows remain source limitations. An AI video upscaler can also produce halos, plastic texture, false lettering, or flicker when the requested enlargement is too aggressive. Treat the video upscaler free result as evidence for one representative section, not as a promise that every shot in a long edit will respond identically.
Privacy and permissions
Use the AI video upscaler only with footage you own or are allowed to process. Remove private conversations, identity documents, confidential screens, and client material when they are not needed for the preview. The video upscaler free path reduces the commitment required for an initial check, but it does not change the need to prepare source material responsibly. Review the Privacy Policy before submitting sensitive work, and keep an offline master of anything irreplaceable.
Real-world review example
Consider a 720p tutorial that will be placed inside a 1080p course player. Instead of selecting the longest clip, choose five seconds where the cursor crosses small menu text while a panel animates. Run that sample through the AI video upscaler, compare the letters at the same timestamp, and watch whether the cursor edge remains steady. If video upscaler free output improves legibility without glowing borders or unstable flat colors, a 2x path may be sufficient. If the source text is already unreadable, a larger target will not reconstruct the missing characters reliably.
Frequently asked questions
- Can I use the video upscaler free without logging in?
- Yes. Video upscaler free preview mode supports an eligible five-second section without login, so you can judge a difficult passage before creating an account. Complete Lite processing and Ultra use their displayed sign-in, format, size, and credit rules. Compare the no-login sample at the delivery size and continue only when the result solves a real problem.
- What is the difference between target resolution and scale?
- Scale describes a multiplier such as 2x or 4x, while target resolution describes a destination such as 1080p or 4K. An AI video upscaler may offer different choices depending on the source dimensions. With video upscaler free testing, choose the smallest available target that fits the final player, then inspect the result rather than assuming a larger label is automatically better.
- Should I upscale before or after editing?
- Trim unused scenes and settle the sequence first so the AI video upscaler does not process footage that will be discarded. Work from the highest-quality intermediate before the final delivery encode and avoid stacking lossy exports. Video upscaler free preview mode can test a representative shot before the edit is locked. Keep finishing decisions reversible until you review the enlarged sequence in motion.
- Can a video upscaler fix heavy compression?
- A video upscaler can make block boundaries or soft edges less distracting, but it cannot restore every texture removed by a low bitrate. The AI video upscaler may interpret missing areas differently from the original scene, especially around text, faces, smoke, and fast movement. Use video upscaler free access on the most compressed section and watch for invented patterns or flicker. If the preview looks unstable, find a cleaner source or request a less aggressive output instead of enlarging further.
- How should I evaluate subtitles and interface text?
- Pause at several matching timestamps, then play the passage normally. A good video upscaler result keeps letter shapes consistent while cursors, windows, or captions move. The AI video upscaler should not turn compression blocks into false strokes or make thin fonts shimmer. A video upscaler free sample that includes the smallest important text is more informative than a scenic shot. If the original characters are missing, replace the text layer during editing rather than expecting enlargement to recreate it.
- Does the free preview represent a full-video result?
- The video upscaler free preview is a focused evaluation, not a guarantee for every scene. Lighting, movement, grain, and compression can change throughout a clip. Choose the hardest representative five seconds, run the AI video upscaler, and inspect normal playback and individual frames. Also sample any scene with a very different visual style before a complete workflow. This keeps the first decision quick and no-login.
- Will upscaling preserve the sound and timing?
- The intended video upscaler workflow keeps the viewing experience together, but every downloaded file should be checked before publication. Play the beginning, an edit point, and the ending while listening for drift or missing sound. After an AI video upscaler run, compare duration and lip sync with the source. Video upscaler free preview mode is mainly for visual evaluation, so include a complete audio and timing check whenever you continue to a full export.
- Is 4K always the best video upscaler output?
- No. A 4K frame contains more pixels, but it does not automatically contain more trustworthy detail. A video upscaler target should match the source quality, delivery screen, editing timeline, and storage budget. Test the AI video upscaler at a practical size first. Video upscaler free comparison can reveal when a smaller result already makes faces, captions, and edges clear enough. Choosing 2x or 1080p may reduce processing and avoid emphasizing artifacts from a very small source.
- Which scenes reveal oversharpening most clearly?
- Look at hair against bright sky, white text on dark panels, rooflines, tree branches, patterned fabric, and moving diagonal edges. A video upscaler that pushes sharpness too far can add bright outlines, ringing, or crawling texture in those areas. Run the AI video upscaler on a section containing several of these details. Video upscaler free preview mode lets you reject an unsuitable direction before processing more footage, while normal-speed playback exposes problems a still frame can hide.
- What should I save after the comparison?
- Keep the untouched source, the chosen video upscaler result, and a short note describing the target and intended destination. Avoid overwriting the master with an AI video upscaler export because another platform may need a different size later. After using video upscaler free preview mode, record which passage you tested and what you inspected. Clear filenames and separate folders make later review easier, especially when several versions differ only in scale, codec, or sharpening strength.